You might want to make some extra configurations to Burst Statistics that are not implemented into the plugin by default. To edit some features of Burst Statistics, you will need to apply some extra code to your WordPress installation. Below we will explain how you can use so-called Must-Use plugins to apply these filters.
What are mu-plugins?
Must-Use plugins, in short, is a folder in WP-Content called ‘mu-plugins’ which is a collection of files that are activated by default and cannot be deactivated in your WordPress dashboard. These files will stay put and activated even if you’re updating your WordPress installation or theme. Filters can also be implemented in your functions.php, but this would mean that your theme can not be updated anymore, unless using a child-theme.
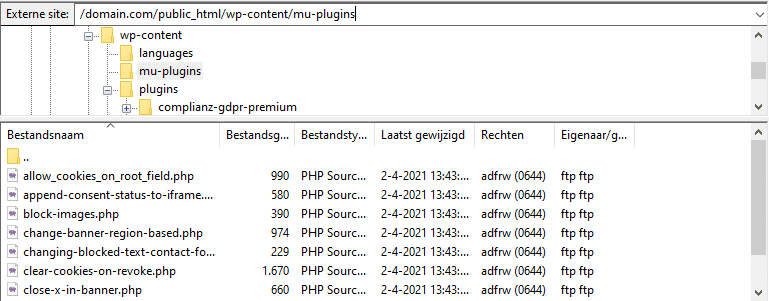
If you don’t have a mu-plugins folder in wp-content, you can simply open your FTP client, then add the folder under the wp-content directory. The result should look like */wp-content/mu-plugins/
How to implement filters with Must-Use plugins.
- Open your favorite text editor, start the file with <?php
- After editing the filter, save your file ending with .php. For example myfilter.php Tip: use a descriptive file name so you can remember the function of a particular mu-plugin.
- Upload myfilter.php to wp-content/mu-plugins/ via FTP
- Check your site if the plugin has the desired functionality. For some filters it might be neccesary to clear your cache and test in a private/incognito browser window when testing. If any errors appear, you can simply delete the file from the mu-plugins folder.
That’s it!